If you have commissioned a HTML custom email signature from us, or created your own, here is how to install it in Microsoft Outlook:
It might come as a bit of a surprise, but officially, there’s no such thing as “Outlook 365”. There are two Outlook versions which this name may relate to: Outlook for Microsoft 365 and Outlook on the web. Both come as a part of the Microsoft 365 subscription, which is probably the reason why so many users came to name them “Outlook 365”. This can be very confusing, especially since the name doesn’t explain whether the user means the app installed locally or the webmail version. The name stuck nonetheless and nowadays can be found all over the Internet, including tech community forums and specialist websites.
To be precise, Outlook for Microsoft 365 is the version of the app installed on desktop or laptop computers. It’s the most recent iteration, originating from a long line of apps included in Microsoft Office suites and standalone programs, so you might say it’s the longest known, as it brings to the table all the features and improvements implemented over the years.
Outlook on the web, on the other hand, is the webmail version of Outlook, allowing you to access your email account through your web browser. Besides being part of a Microsoft 365 subscription, it’s also available for organizations using on-premises Microsoft Exchange Server 2016 & 2019. By the way, the name “Outlook on the web” is being used interchangeably with “OWA”. The abbreviation actually stands for “Outlook Web App”, which was the official name of the app used with Microsoft Exchange Server 2013 & 2010, formerly called “Outlook Web Access” in case of Microsoft Exchange Server versions older than 2010. The biggest difference in comparison to Outlook for Microsoft 365 is that you don’t have to install anything on your computer or mobile device to use Outlook on the web.
Table of Contents
ToggleOutlook for Microsoft 365
Follow the steps below to set up an email signature in the desktop Outlook 365:
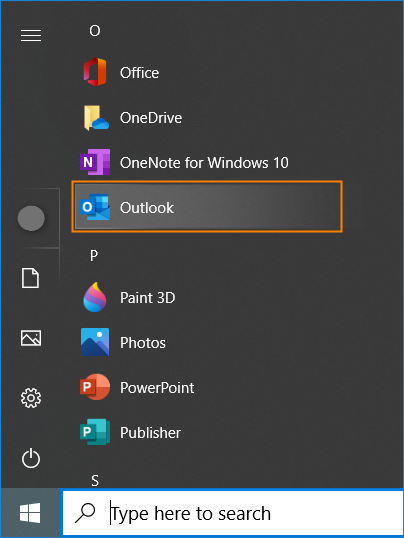
- Open the Outlook for PC app from the Start menu or from the taskbar.
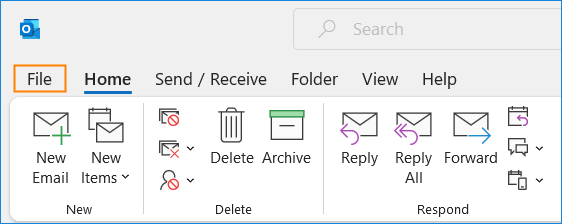
- In Outlook, click File > Options.
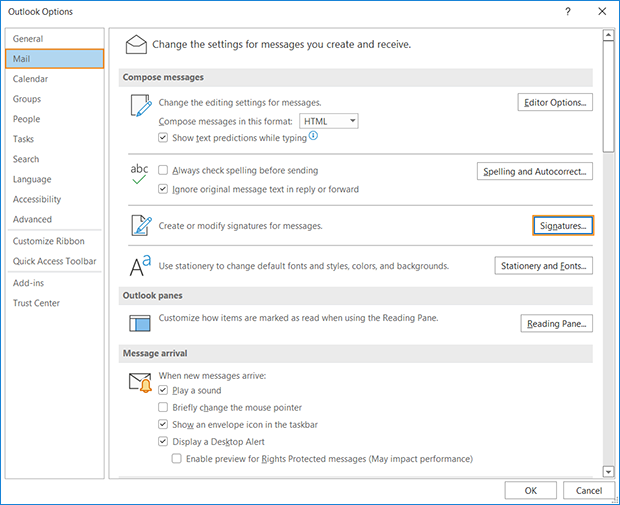
- In the Outlook Options window select the Mail tab and click Signatures in the Compose messages section.
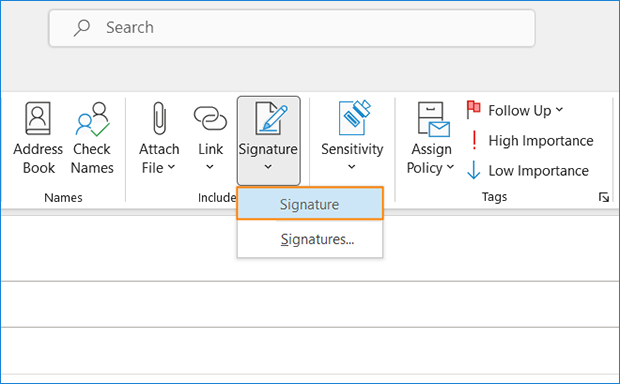
Note: Another way to start configuring your signatures is to open a New Email message, click Signature in the Include group and again Signatures.
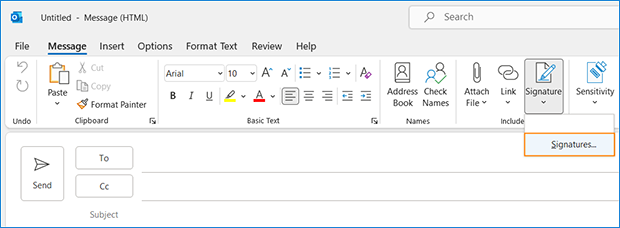
- In the Signatures and Stationery window, click New and provide a name for your signature.
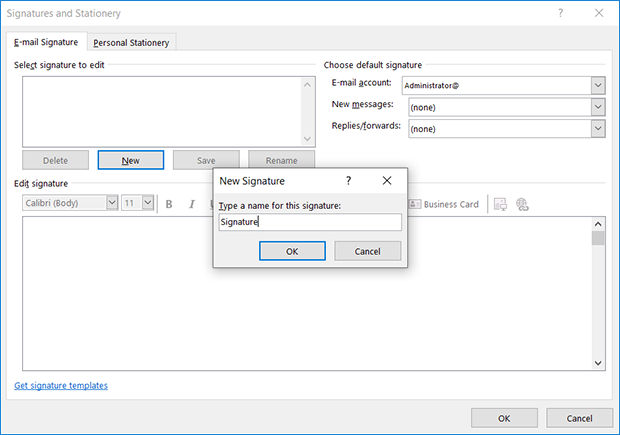
- Create your signature in the Edit signature section. Use available formatting tools to modify its appearance.
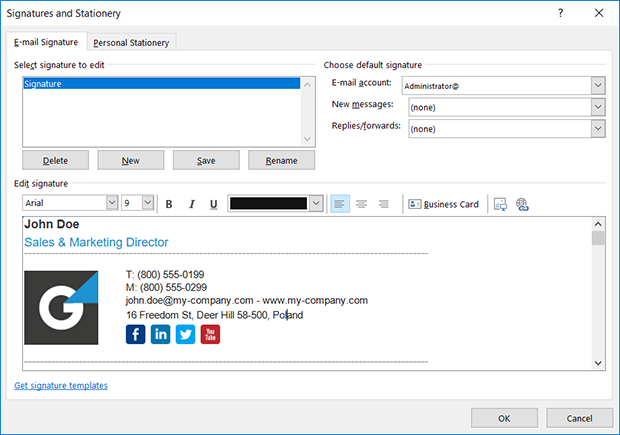
- The Choose default signature section can be used to define which email account should get the signature (in case there is more than one email account set up in Outlook), and whether it should be added to new messages and/or replies/forwards. Once you are done, save changes by clicking OK.
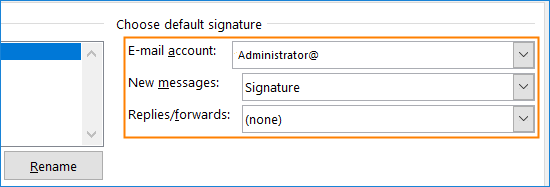
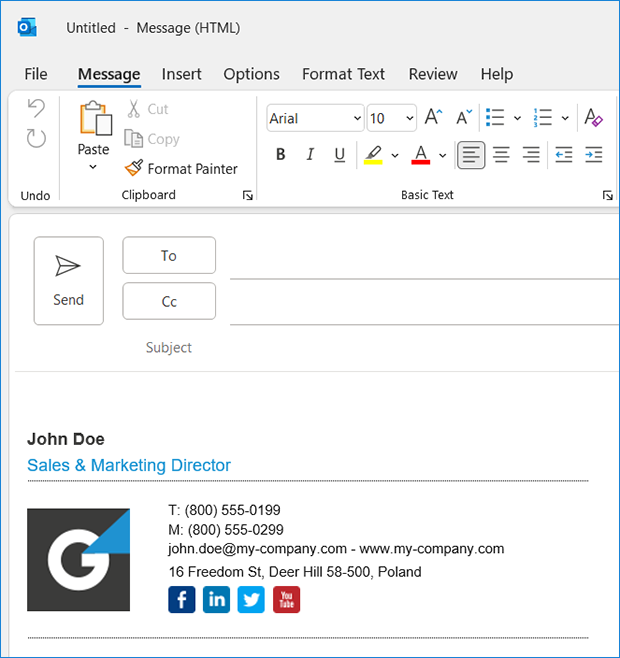
- In case you selected your signature to be treated as default for new messages, you will see it every time you compose a new email.
Note: If you didn’t select your signature as the default one, you will still be able to add it manually every time you write a new email. It will be available after clicking the Signature button in the Include group.
That’s all there is to it. If you wish to create more Outlook signatures, simply follow the steps from point 3 onwards. You can create as many of them as you need – they will appear on a list visible after clicking the aforementioned Signature button.
Outlook on the web
The steps required to configure email signatures in the ”Outlook 365” webmail client are a bit different than in case of the desktop app:
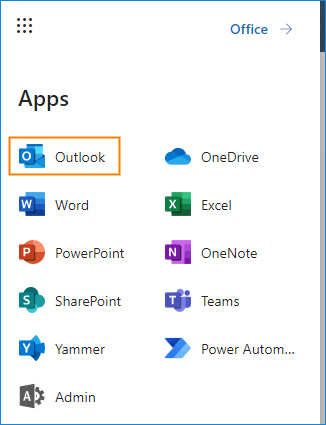
- Open your Outlook on the web either by selecting the Outlook App in your Office home page, or by using this direct link.
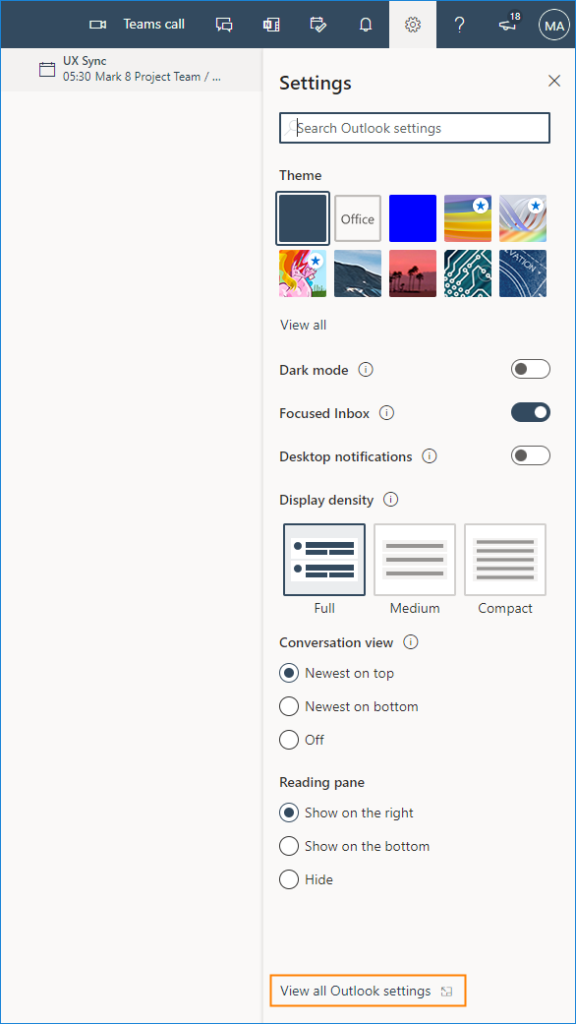
- Click the Gear icon in the top-right corner and select View all Outlook settings.
- In the navigation pane on the left, go to Mail > Compose and reply. You can also use this direct link to reach the signature editor panel. Use the provided editor box to enter your signature text, apply formatting as well as to add images or links.
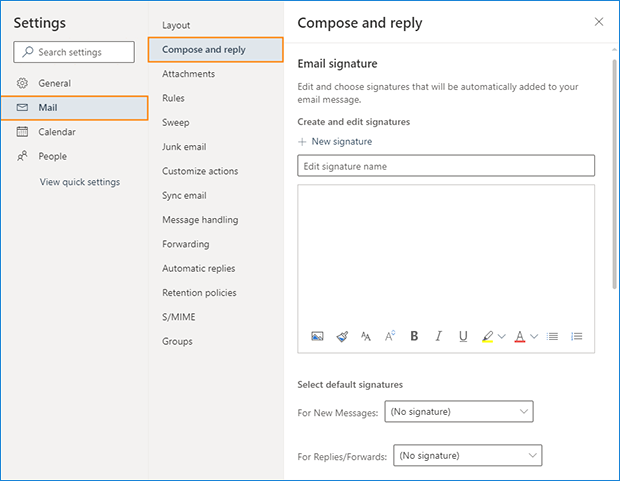
Note: If you wish to achieve a more refined appearance, you can use a free email signature generator with lots of advanced signature templates that you can fill in with all the necessary details and copy into the editor box in Outlook on the web.
- The two drop-down menus under the signature editor let you decide whether the created signature should be added automatically to your new messages and replies/forwards respectively.
Note: It is possible to create and use multiple signatures for a single mailbox – similarly to the Outlook desktop client. Just click the New signature button after you have saved your first signature to create another one.
Once you are done, save changes and close the settings window.
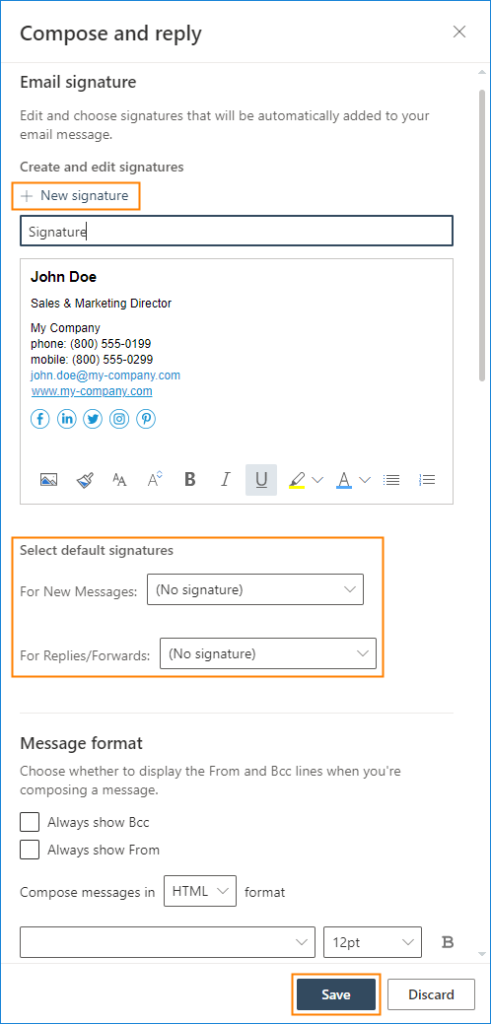
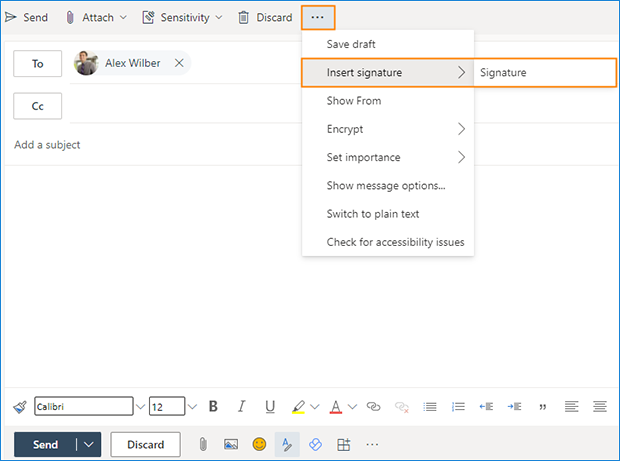
- If you select your signature(s) in one of or in both drop-down menus, it will appear in the compose message window as you type your email in the appropriate scenario. In case you left the menus’ default settings (No signature), you will still be able to add your signature manually while composing email.
